Twinkie Bunny Car
Leave a Comment
Posted: 02/27/24
Updated: 03/08/24
This post may contain affiliate links. Please read our disclosure policy.
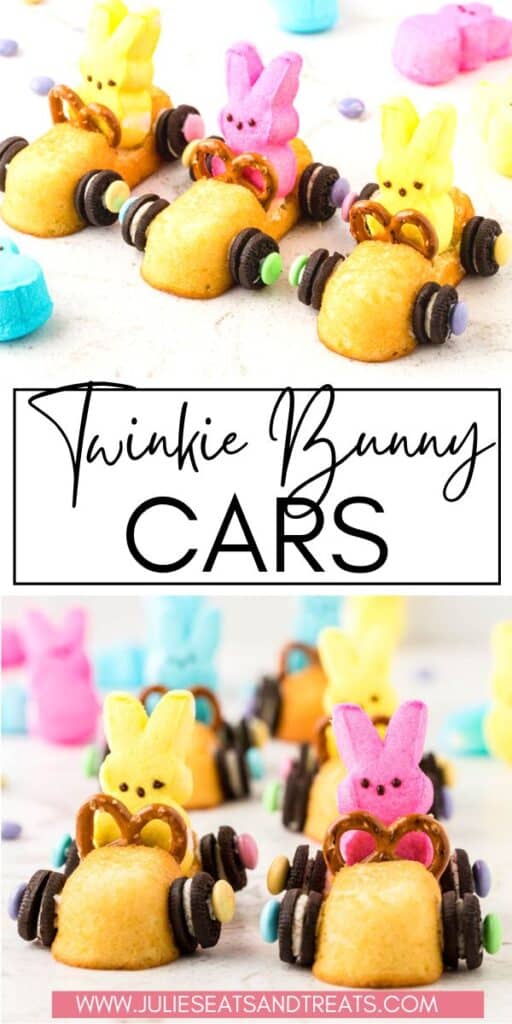
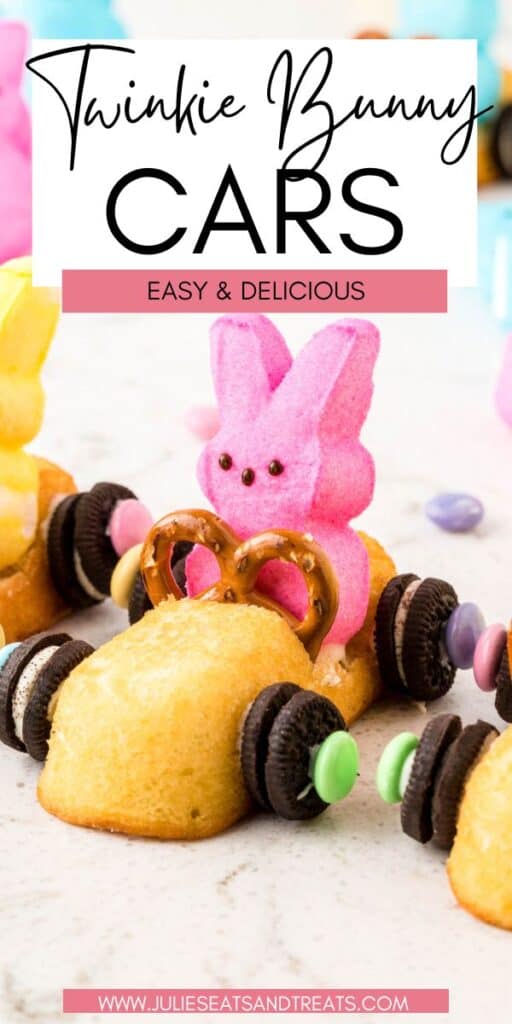
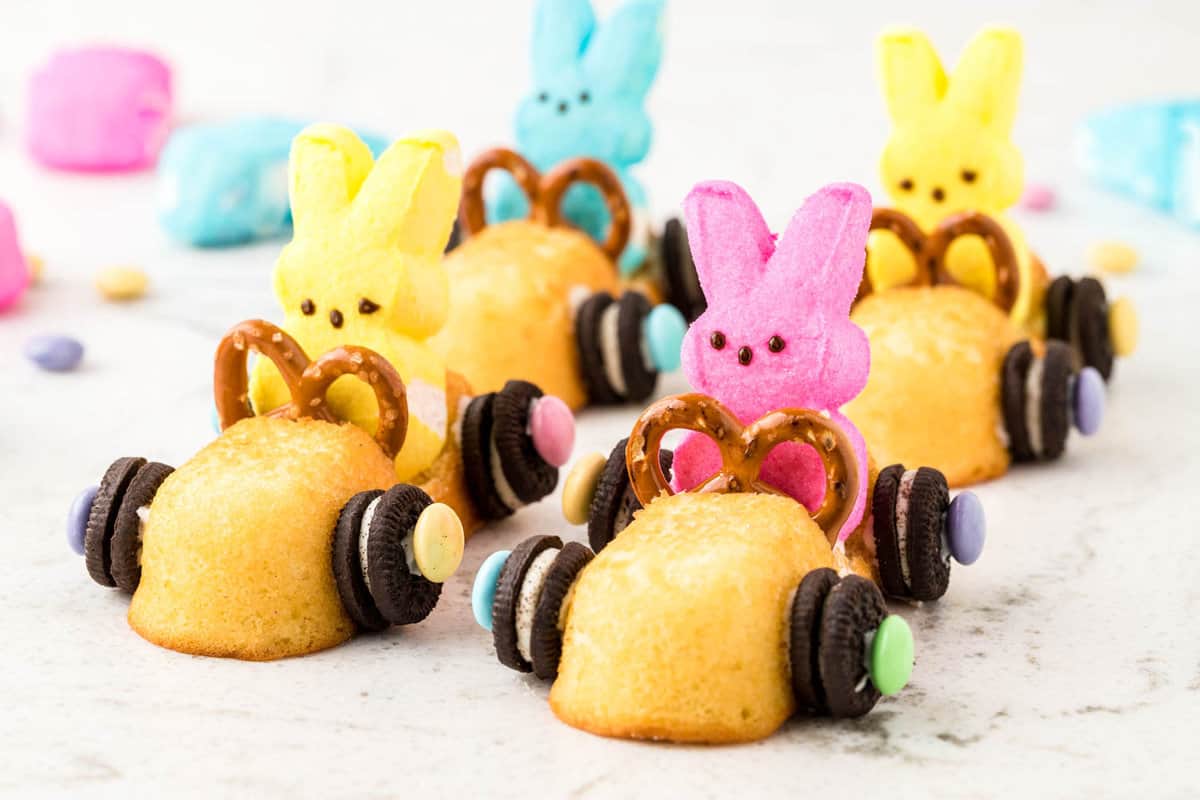
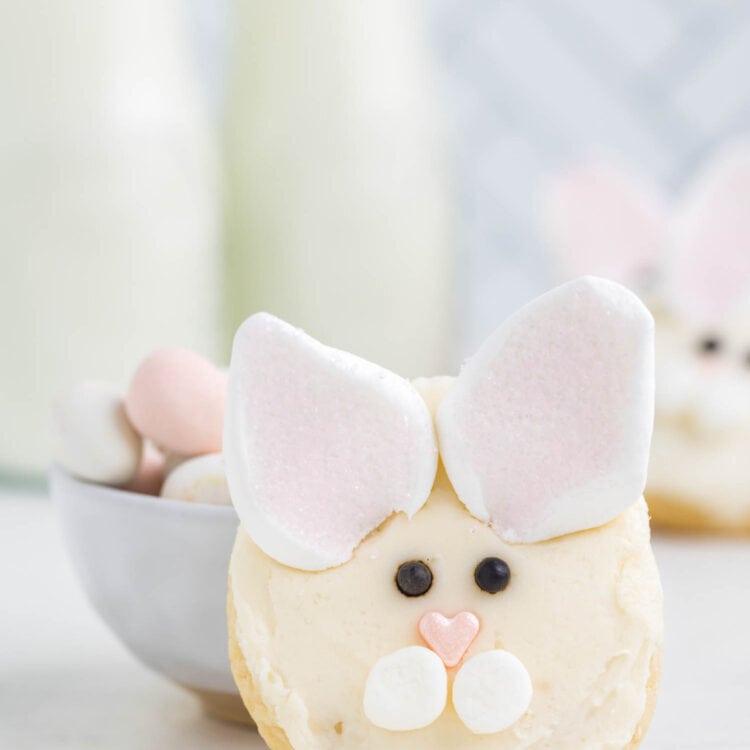
Turn your favorite Twinkies snack into an adorable and fun Twinkie Bunny Car. They make the perfect activity and snack for Easter that kids will love to create and devour.
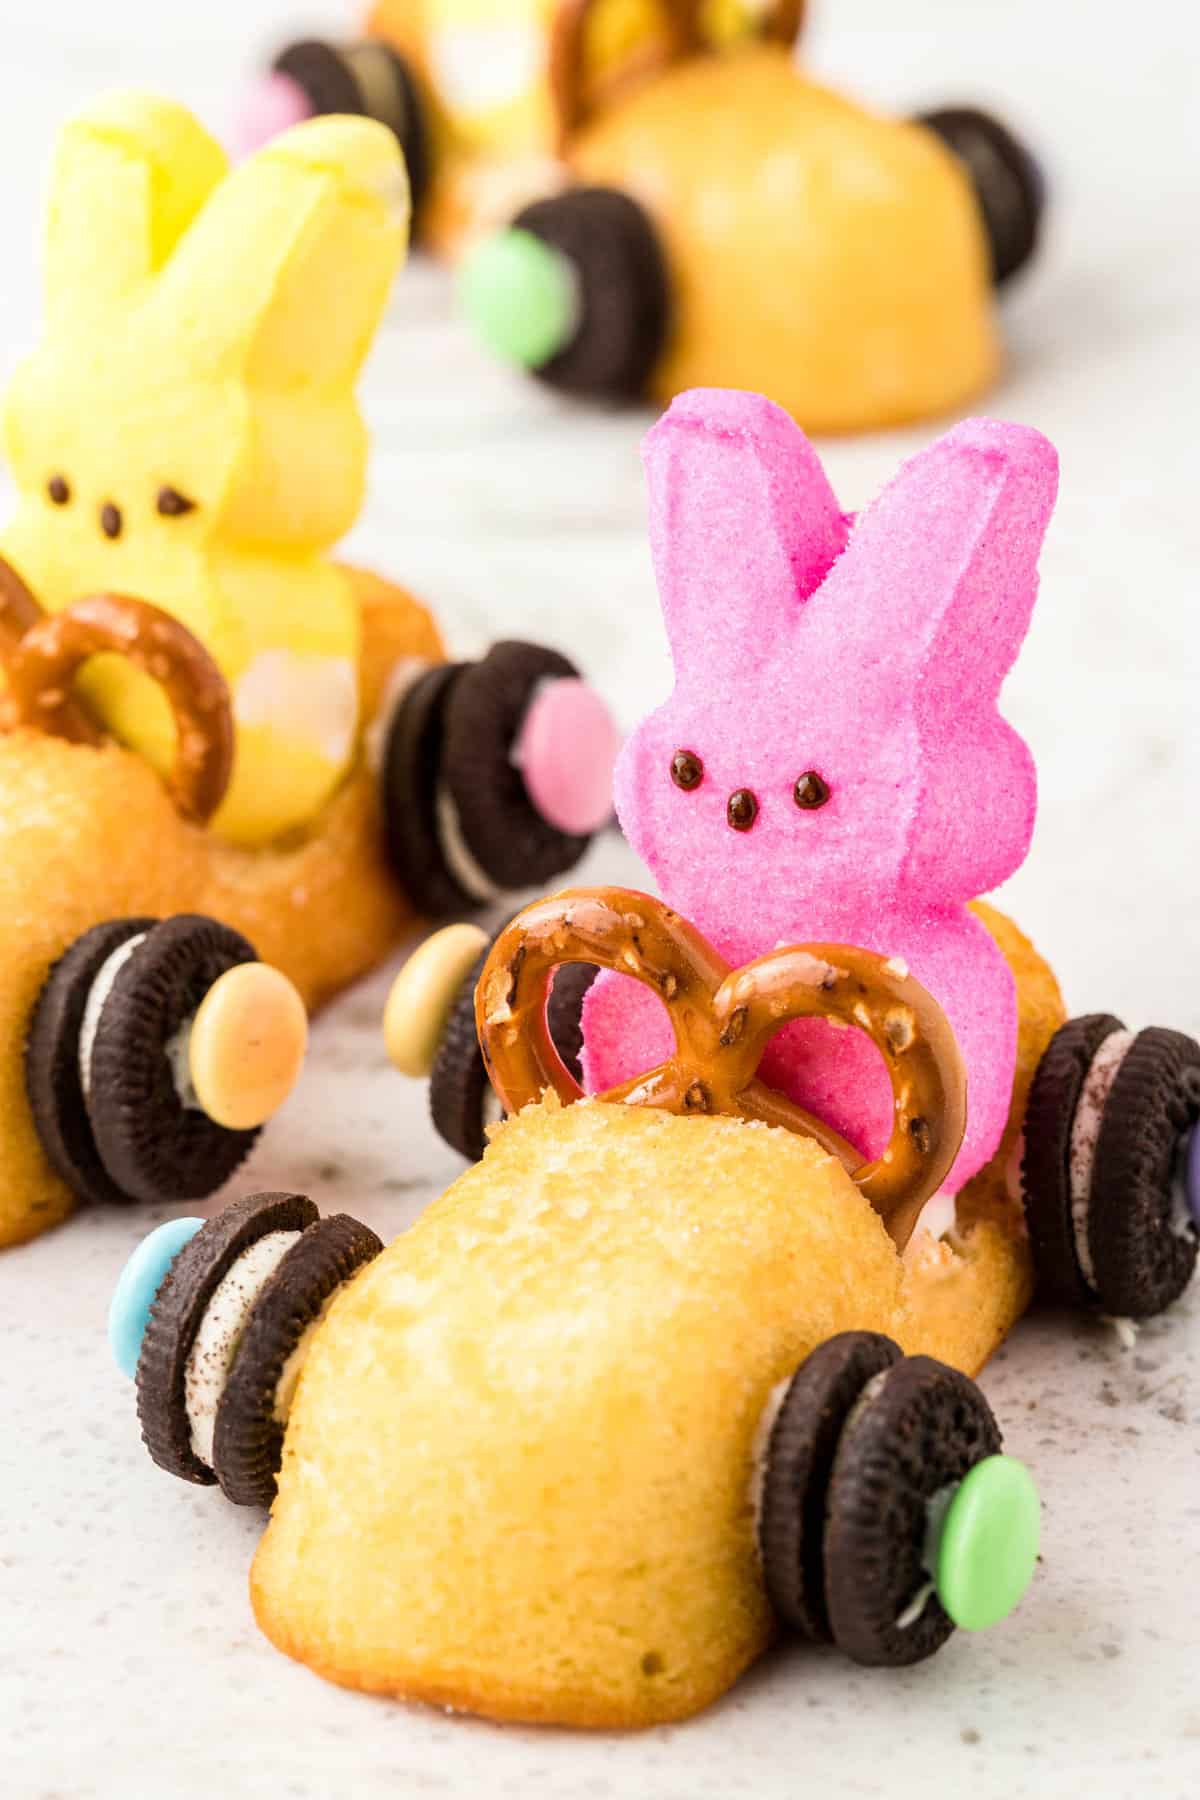
What’s more adorable than a peep? A peep in a twinkie car, that’s what! These precious little Easter treats are the cutest and most creative way to serve a Twinkie. And what’s not to love about a cream filled twinkie, loaded with cookies, chocolate, a peep and M&Ms! Kids and adults alike are sure to ooh and ahh over their Twinkie bunny car.
Pair them on your dessert table with Easter cupcakes and Easter bread and you’ll have the cutest dessert presentation around. Race to the finish line of dinner to have a yummy Easter twinkie car dessert. I bet your kids will even finish their veggies!
Why You’ll Love these Twinkie Bunny Cars
- Twinkie cars are an easy no-bake recipe. So you can save your oven space for that Easter ham. And it’s doubly great if you want something easy for the kiddos to get involved in!
- This is a great dessert to give out as a gift to family and friends. Wrap each individual twinkie bunny car in an Easter themed cellophane bag, tie with a ribbon, and then gift with a smile!
- You can use this recipe to make as many cars as you need. Just make sure you have plenty of supplies to make each one and you’re to go!

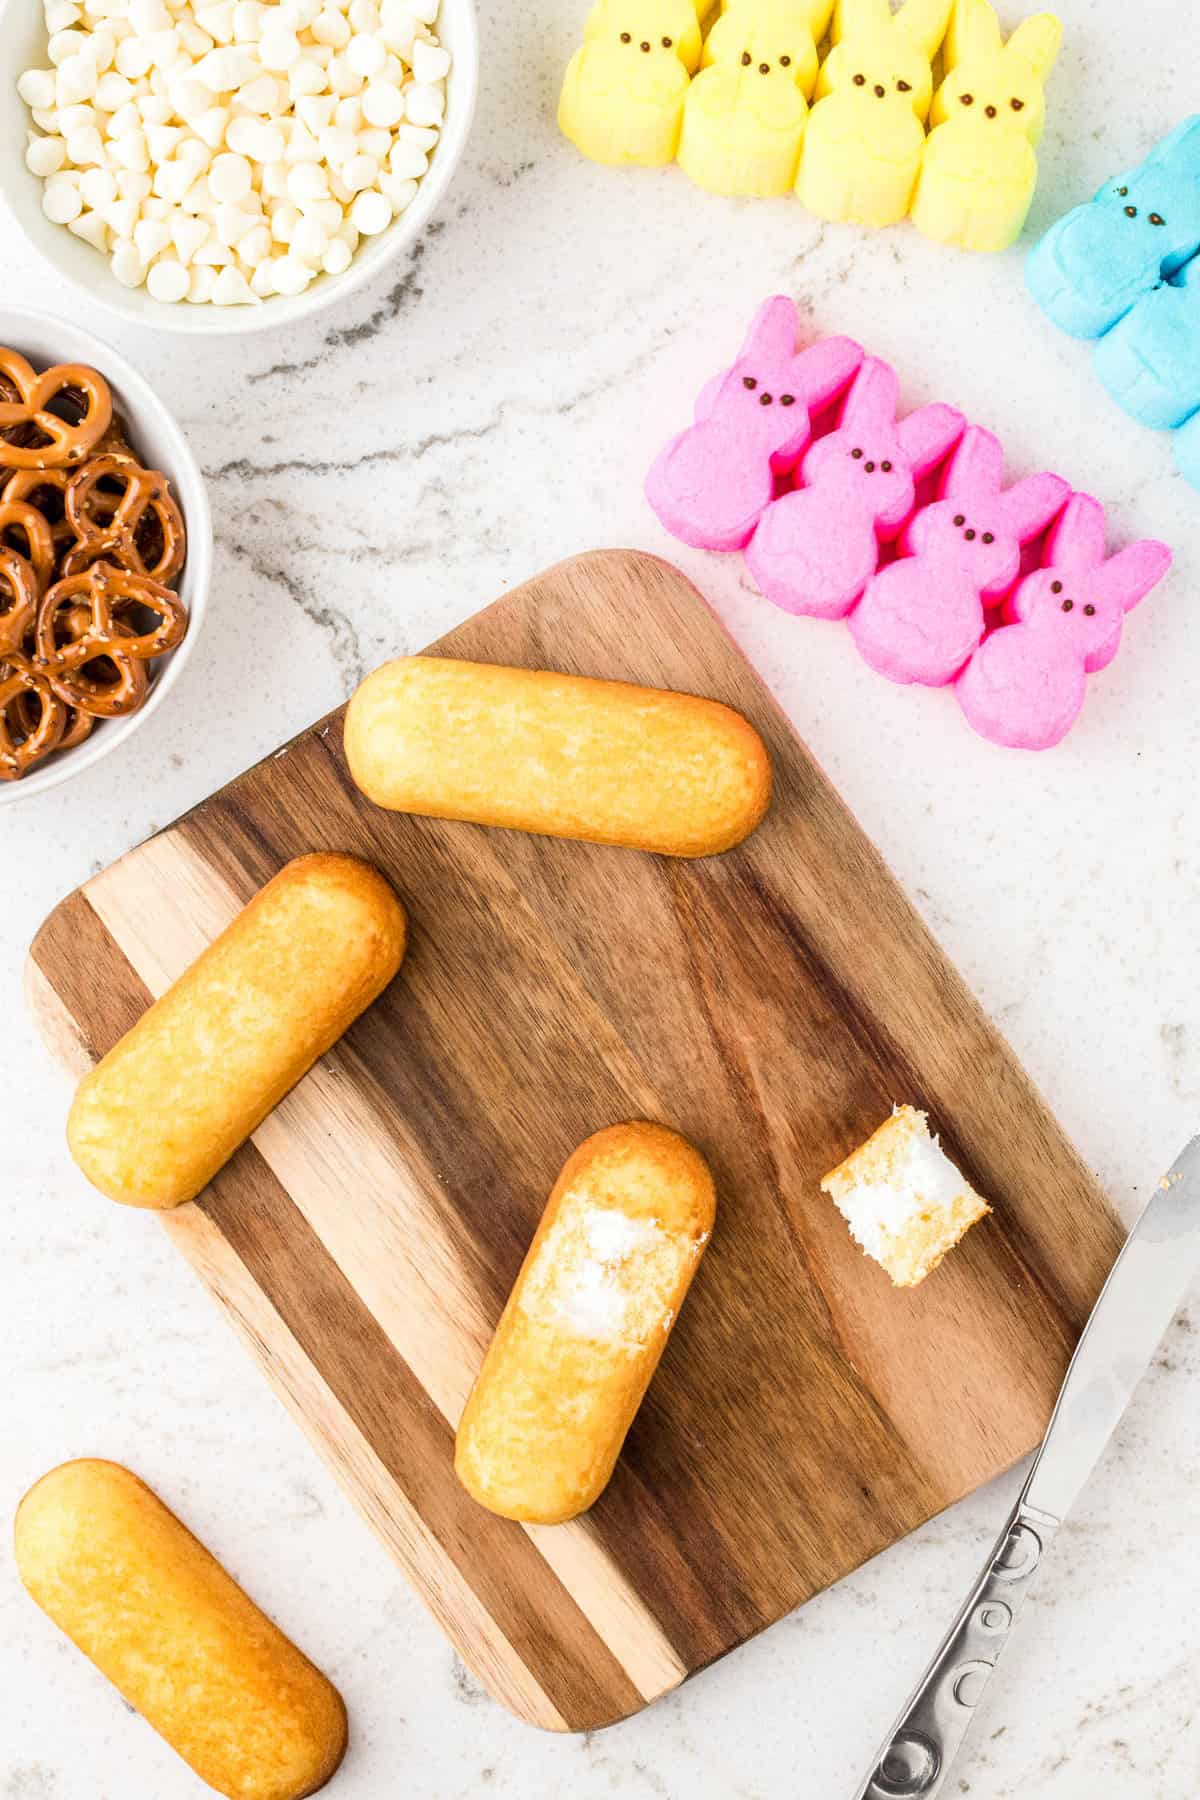
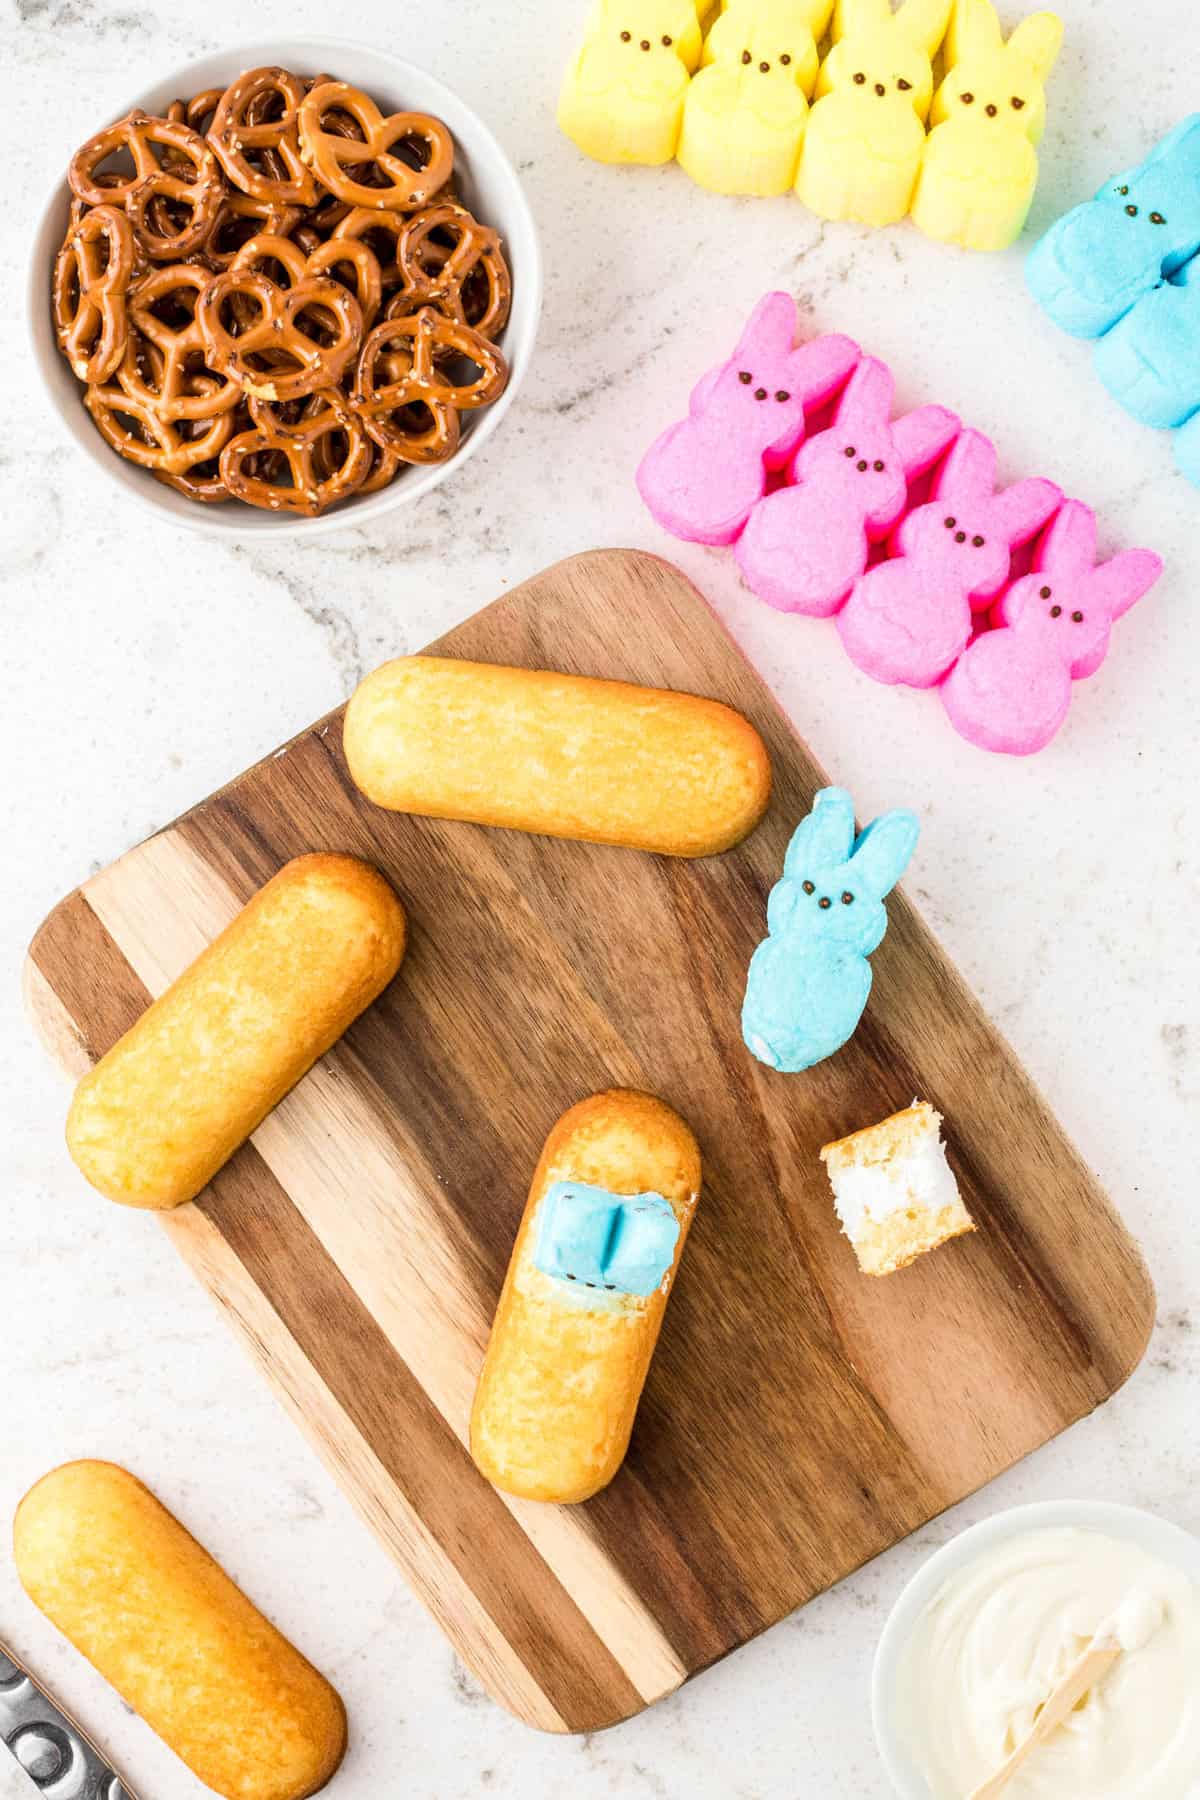
Ingredients for Twinkie Bunny Cars
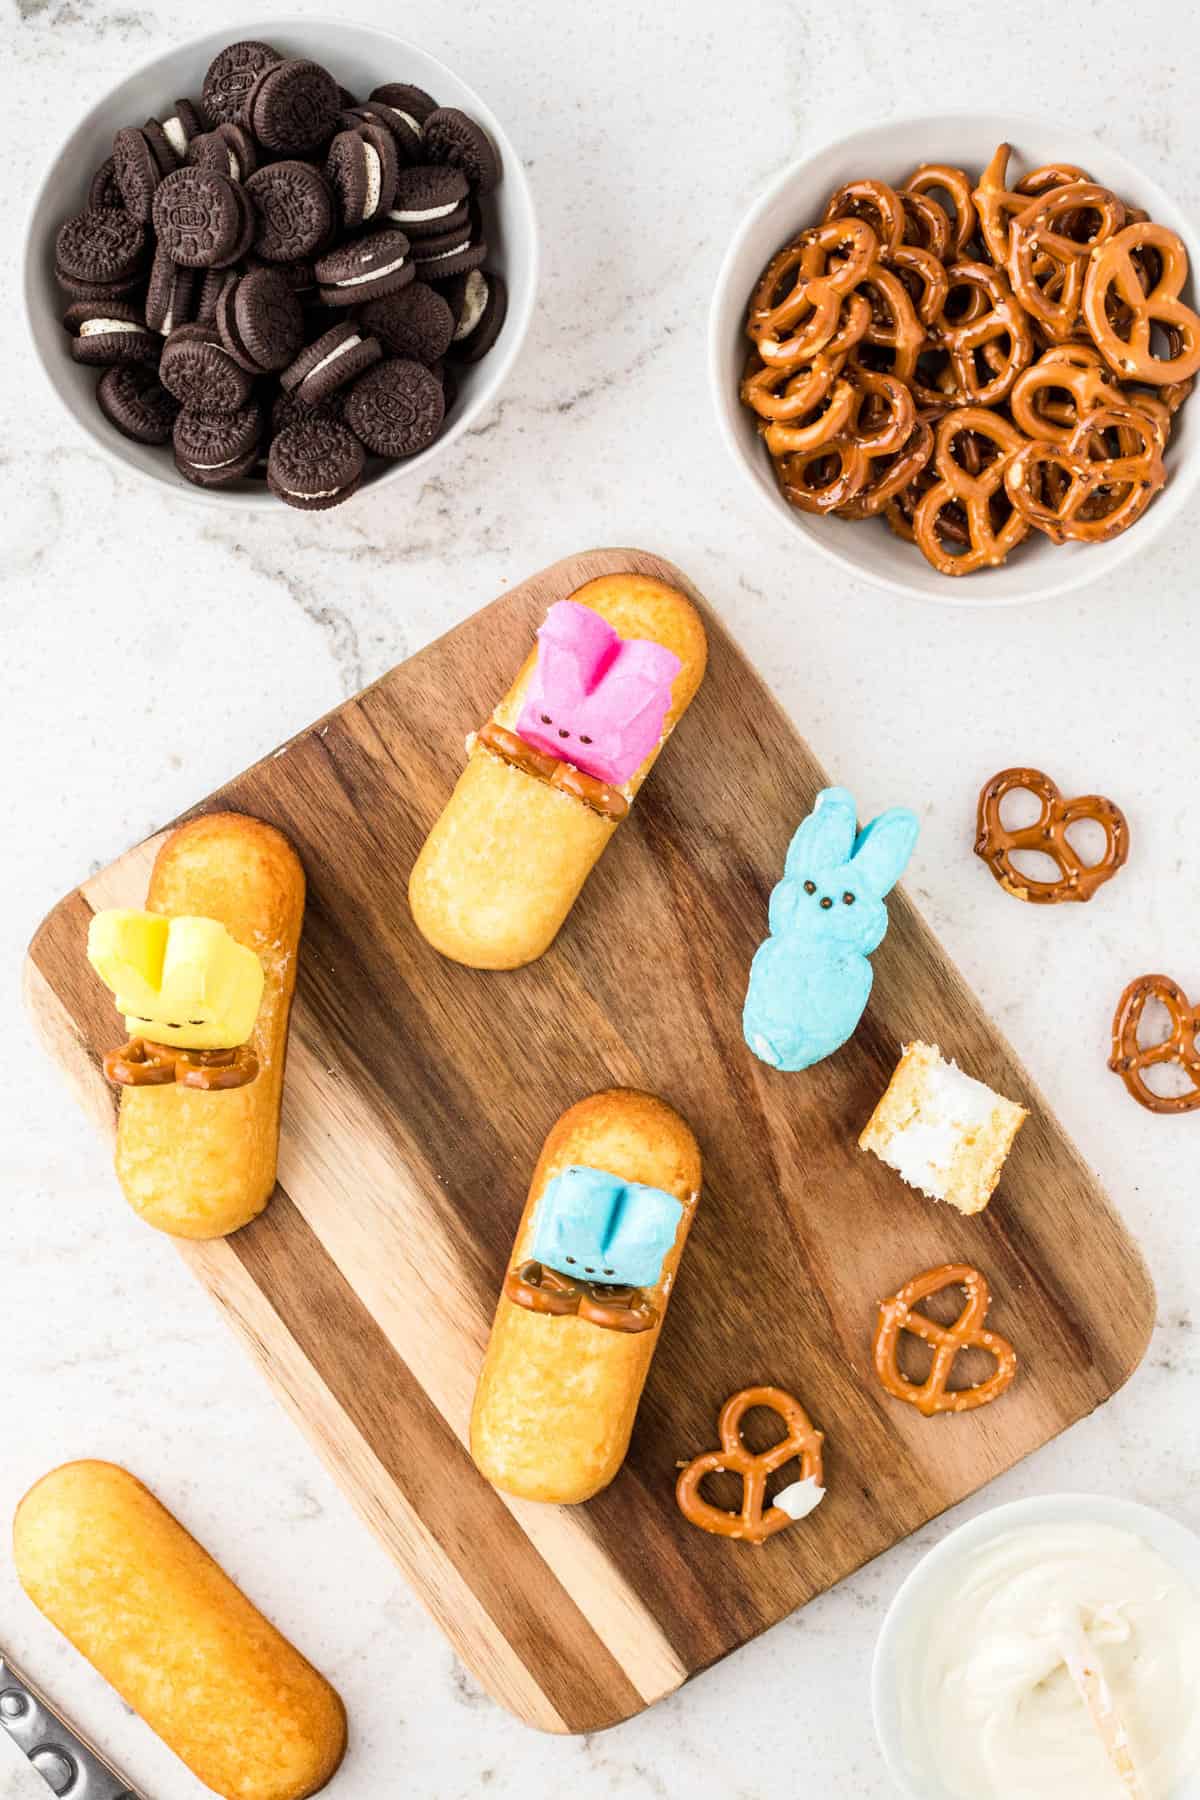
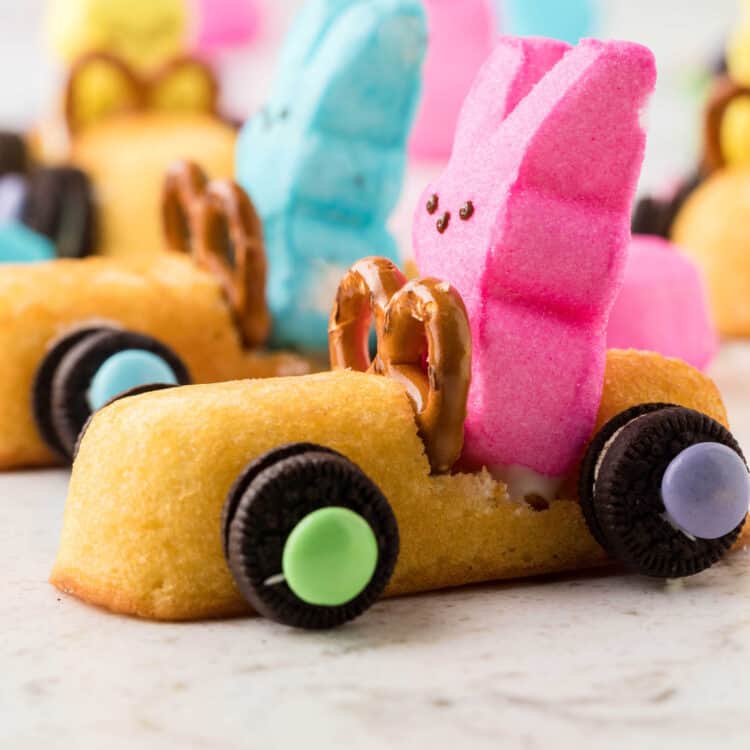
- Pretzels – You’ll use mini pretzel twists as the steering wheel for each twinkie bunny car. If you don’t have those on hand, round pretzels and even square pretzels will work just fine.
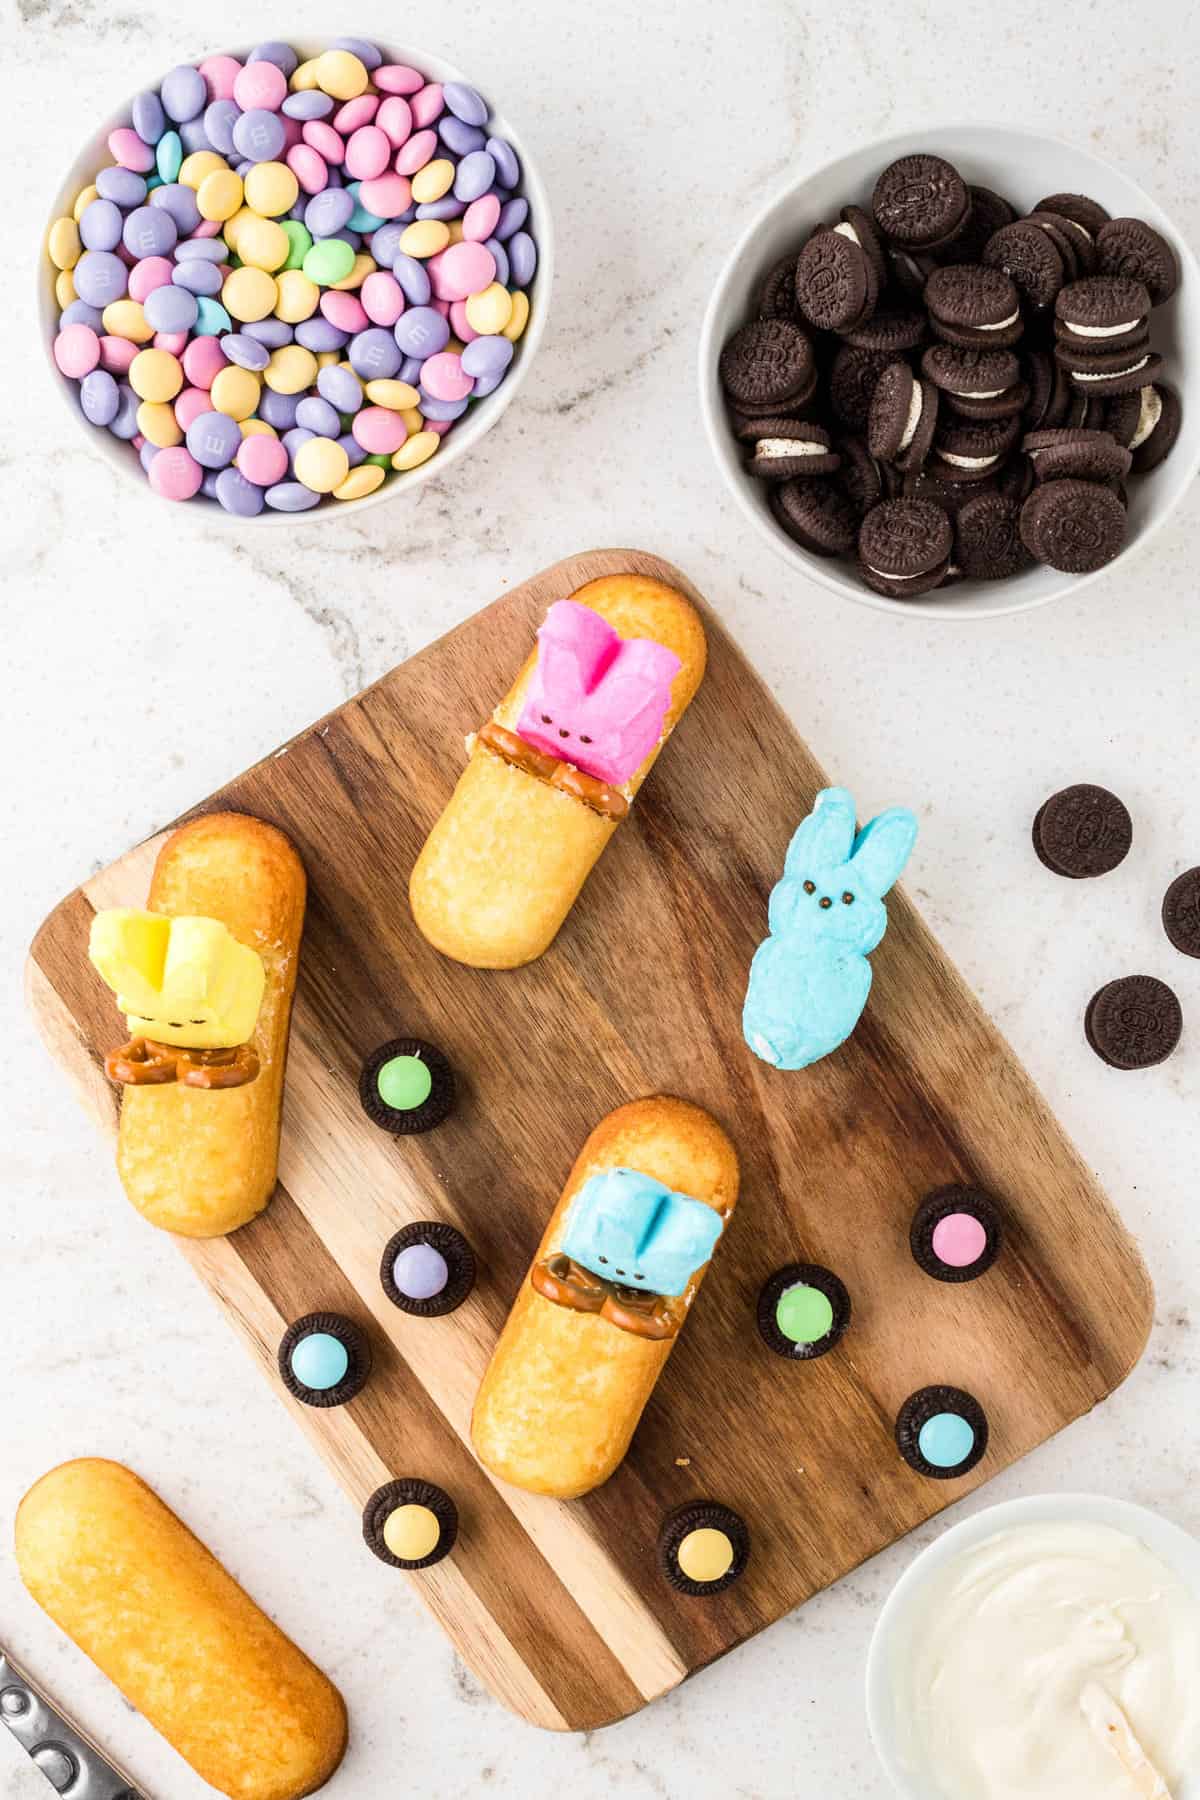
- Mini oreos – Mini oreos make the absolute best wheels for twinkie cars! So cute and tasty.
- White chocolate chips – Melted white chocolate will be your “glue” to hold everything together.
- Twinkies – The body of each car — a fluffy, sweet, cream-filled Twinkie! I think I’d like my real car to be made of those too.
- Peeps – Grab some bunny twinkies from the seasonal aisle at your grocery store to act as the driver in each car!
- Easter M&Ms – You can find these on the seasonal aisle at your grocery store as well as online.
Helpful Tools
How to Make a Twinkie Bunny Car
Use a sharp knife and cut a notch about one inch in size in the center of your Twinkie. Be careful not to cut the Twinkie in half, just carve out enough space for your bunny peep to have something to sit on.
Then melt a 1/4 cup of white chocolate chip in a microwave safe bowl until smooth and creamy. Microwave them in 30 second increments, stirring in between until melted.
Grab a toothpick or a spoon, and dab a little bit of white chocolate to the bottom of your peep. Press it into the “seat” that you previously carved out. Then, put a little dot of white chocolate on the back of a pretzel twist and place it in front of the peep as the steering wheel for your easter twinkie cars.
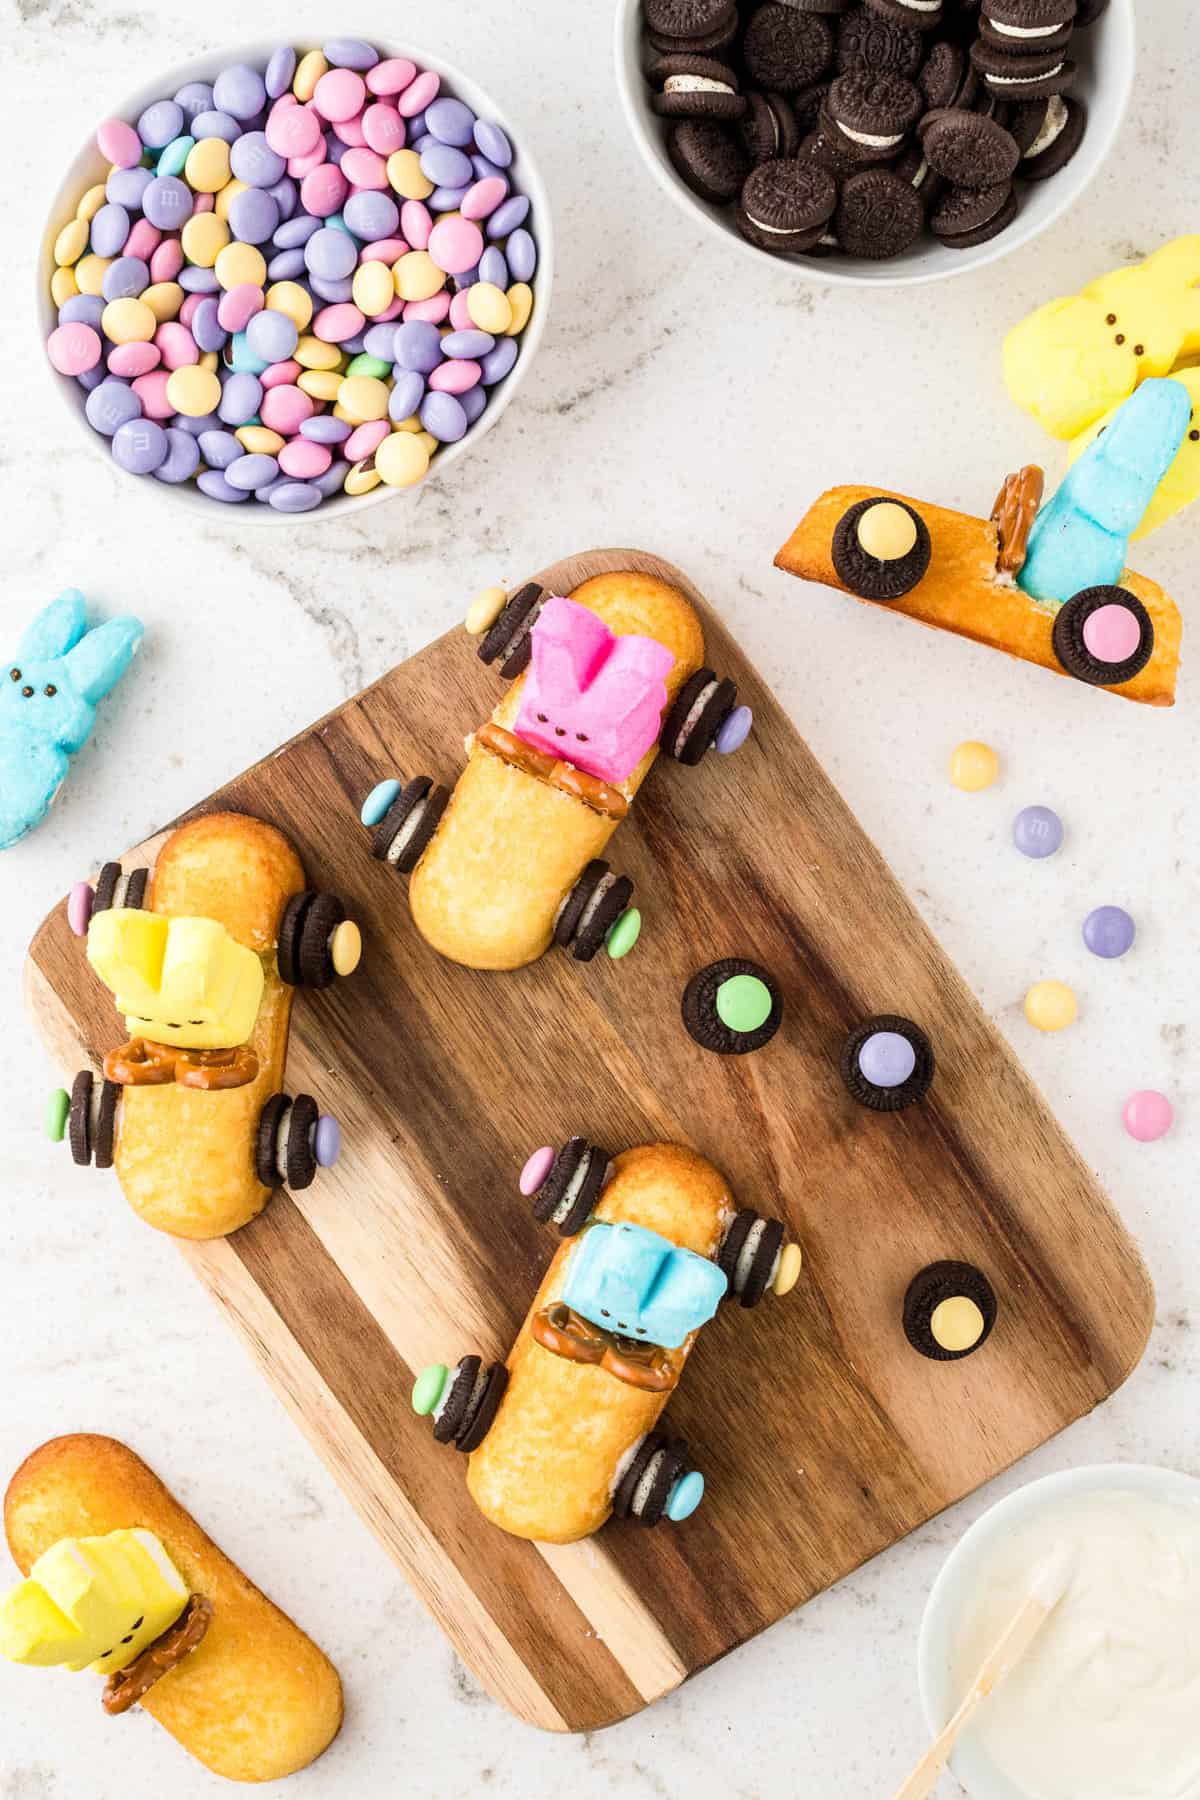
Use the white chocolate to attach the Oreo wheels to each side of the car with white chocolate, then add an Easter M&M to each wheel for decoration.
Allow each of the Twinkie bunny cars to set for 5 to 10 minutes so that the chocolate has time to dry. Then they are ready to go!
How to Store A Twinkie Bunny Car
These twinkie cars are best eaten right away. However, if you do end up having some leftovers you can store them in an airtight container at room temperature for 3 days. I do not recommend freezing or refrigerating Twinkie cars.
What else can I use on Easter bunny peeps race cars
Can’t find mini oreos? Not to worry! You can use mini chips ahoy, or any small circular candy. Some lifesavers or marshmallows could work. You could even make fondant circles and make a wheel that is even more realistic!
Why are my M&Ms not sticking?
If you are having trouble getting the M&Ms to stick, you likely need to reheat the chocolate. The warm white chocolate is what will help adhere the decorations to the Twinkie. You can pop it back into the microwave in 30 second increments and then stir well to thin it out again.
Pro Tips for the Best Twinkie Bunny Cars
- It can be useful to have some extra hands to help you! Have one person attach the peeps and another attach the wheels so that you can work quickly before the chocolate sets.
- Don’t add too much white chocolate when attaching each decoration or it can become clumpy and make a mess.
- Feel free to jazz up each car with some sprinkles, icing, edible glitter, or any other fun things!
I hope you have a blast “playing with your food” with this amazing, and super fun, recipe!
More No Bake Recipes You’ll Love
- Do you need a quick cookie recipe to add to your favorites list? Then you’ve got to try out these incredible No Bake Cookies!
- No Bake S’mores Bars are the best way to enjoy all the flavor of the campfire with much less of the mess. They’re also a great gift or party dessert!
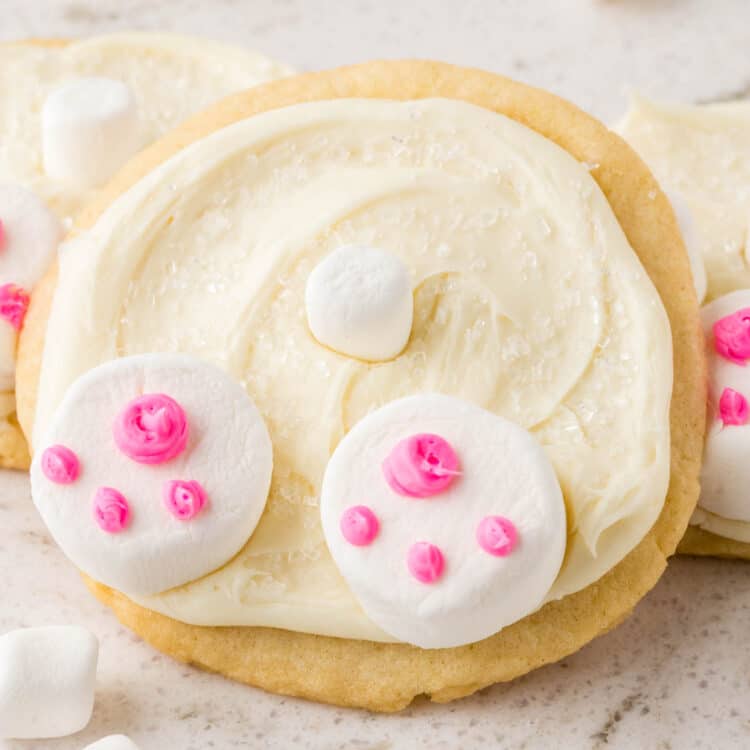
- Want more little character recipes? Then you just have to make these No Bake Melting Snowman Cookies. They truly are one of the cutest things and are just perfect for the Christmas season.
- Cheesecake doesn’t have to go in the oven. Yup, you read that right! Try out this No Bake Cheesecake and you’ll see what I’m talking about!
Did you make this? If you snap a photo, please be sure tag me on Instagram at @julieseatsandtreats or #julieseatsandtreats so I can see your yummy treat!
Twinkie Bunny Car
An adorable Easter dessert that's fun to make and eat! These Twinkie Bunny Cars are a great hands on activity for Easter kids love.
Twinkie Bunny Car
Ingredients
- 1 Twinkie
- 1 Peep
- ¼ cup White chocolate chips
- 4 Mini Oreos
- 4 Easter M&M’s
- 1 pretzel twist
Instructions
- We will start by making a seat for the bunny to sit in! With a knife, cut a 1-inch notch in the center of the top of the Twinkie. Make sure not to cut it all the way through, or you will cut the Twinkie in half.
- Melt ¼ cup of white chocolate chips in the microwave for 1 minute. Stir and heat in 30-second increments until melted.
- Use the melted chips as the glue for your Peep to secure it to the seat. Grab a toothpick or spoon and add a dollop of white chocolate “glue” to the bottom of the Peep. Gently press it in the previously cut hole for the seat.
- Next, grab a mini pretzel, dab it with melted white chocolate, and place it just in front of the Peep Bunny for the car’s steering wheel.
- Now let’s add the wheels to our car! First, take 4 mini Oreos, place a dot of white chocolate in the center, and add an Easter M&M for a cute extra detail! Allow 2 minutes to dry.
- Next, glue the “wheels” to the sides of the twinkie, parallel to each other in the front and back of the car, using the melted white chocolate. Allow at least 5 to 10 minutes to dry.
- Once dry, your Twinkie Bunny Car is complete and ready to race!

Tips
These twinkie cars are best eaten right away. However, if you do end up having some leftovers you can store them in an airtight container at room temperature for 3 days. I do not recommend freezing or refrigerating Twinkie cars.
Nutrition Information
Calories: 294kcal (15%), Carbohydrates: 39g (13%), Protein: 3g (6%), Fat: 15g (23%), Saturated Fat: 9g (56%), Polyunsaturated Fat: 1g, Monounsaturated Fat: 4g, Cholesterol: 9mg (3%), Sodium: 118mg (5%), Potassium: 142mg (4%), Fiber: 0.3g (1%), Sugar: 34g (38%), Vitamin A: 14IU, Vitamin C: 0.3mg, Calcium: 91mg (9%), Iron: 0.4mg (2%)
Leave a Comment