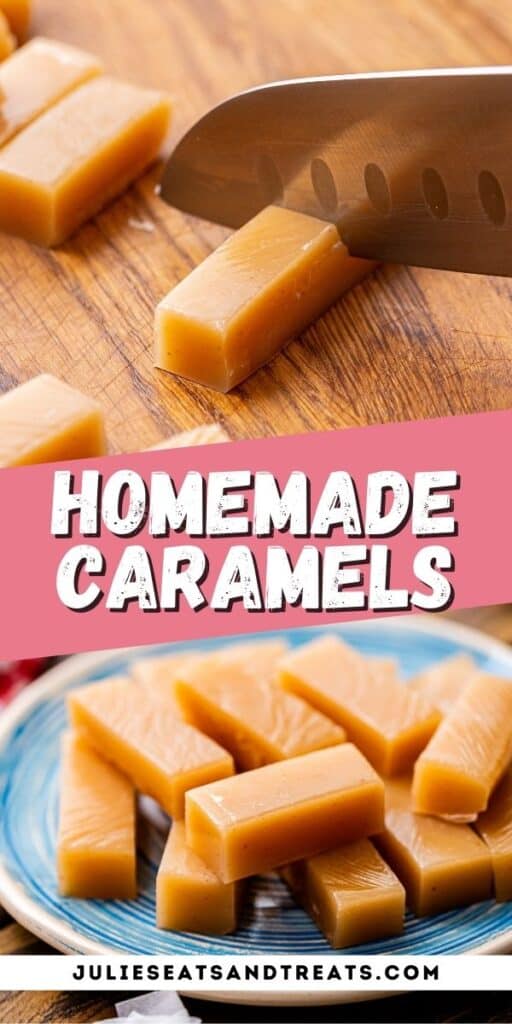
Homemade Caramels
18 Comments
Posted: 12/11/20
This post may contain affiliate links. Please read our disclosure policy.
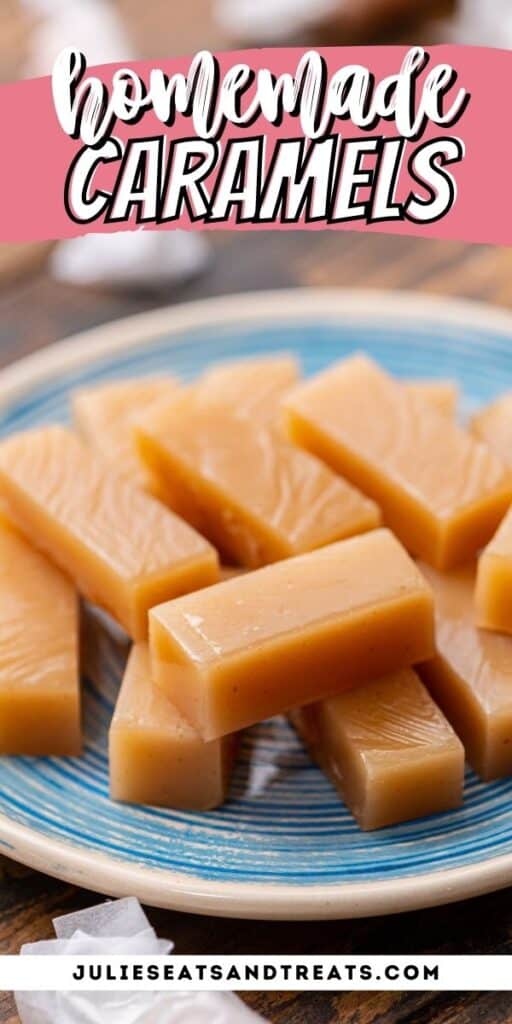
Soft, chewy homemade caramels are the perfect gifts or treats for friends and neighbors during the holidays. They also make a great addition to any cookie tray! This is a tried and true recipe handed down for generations. Step by step instructions on how to make them so anyone can master these caramels!
I have many cherished holiday recipes, and I can’t believe I’ve waited until now to share our family’s favorite homemade caramels! This recipe has been handed down many times – it’s one of my childhood favorites, and I love to make it now for our little family!
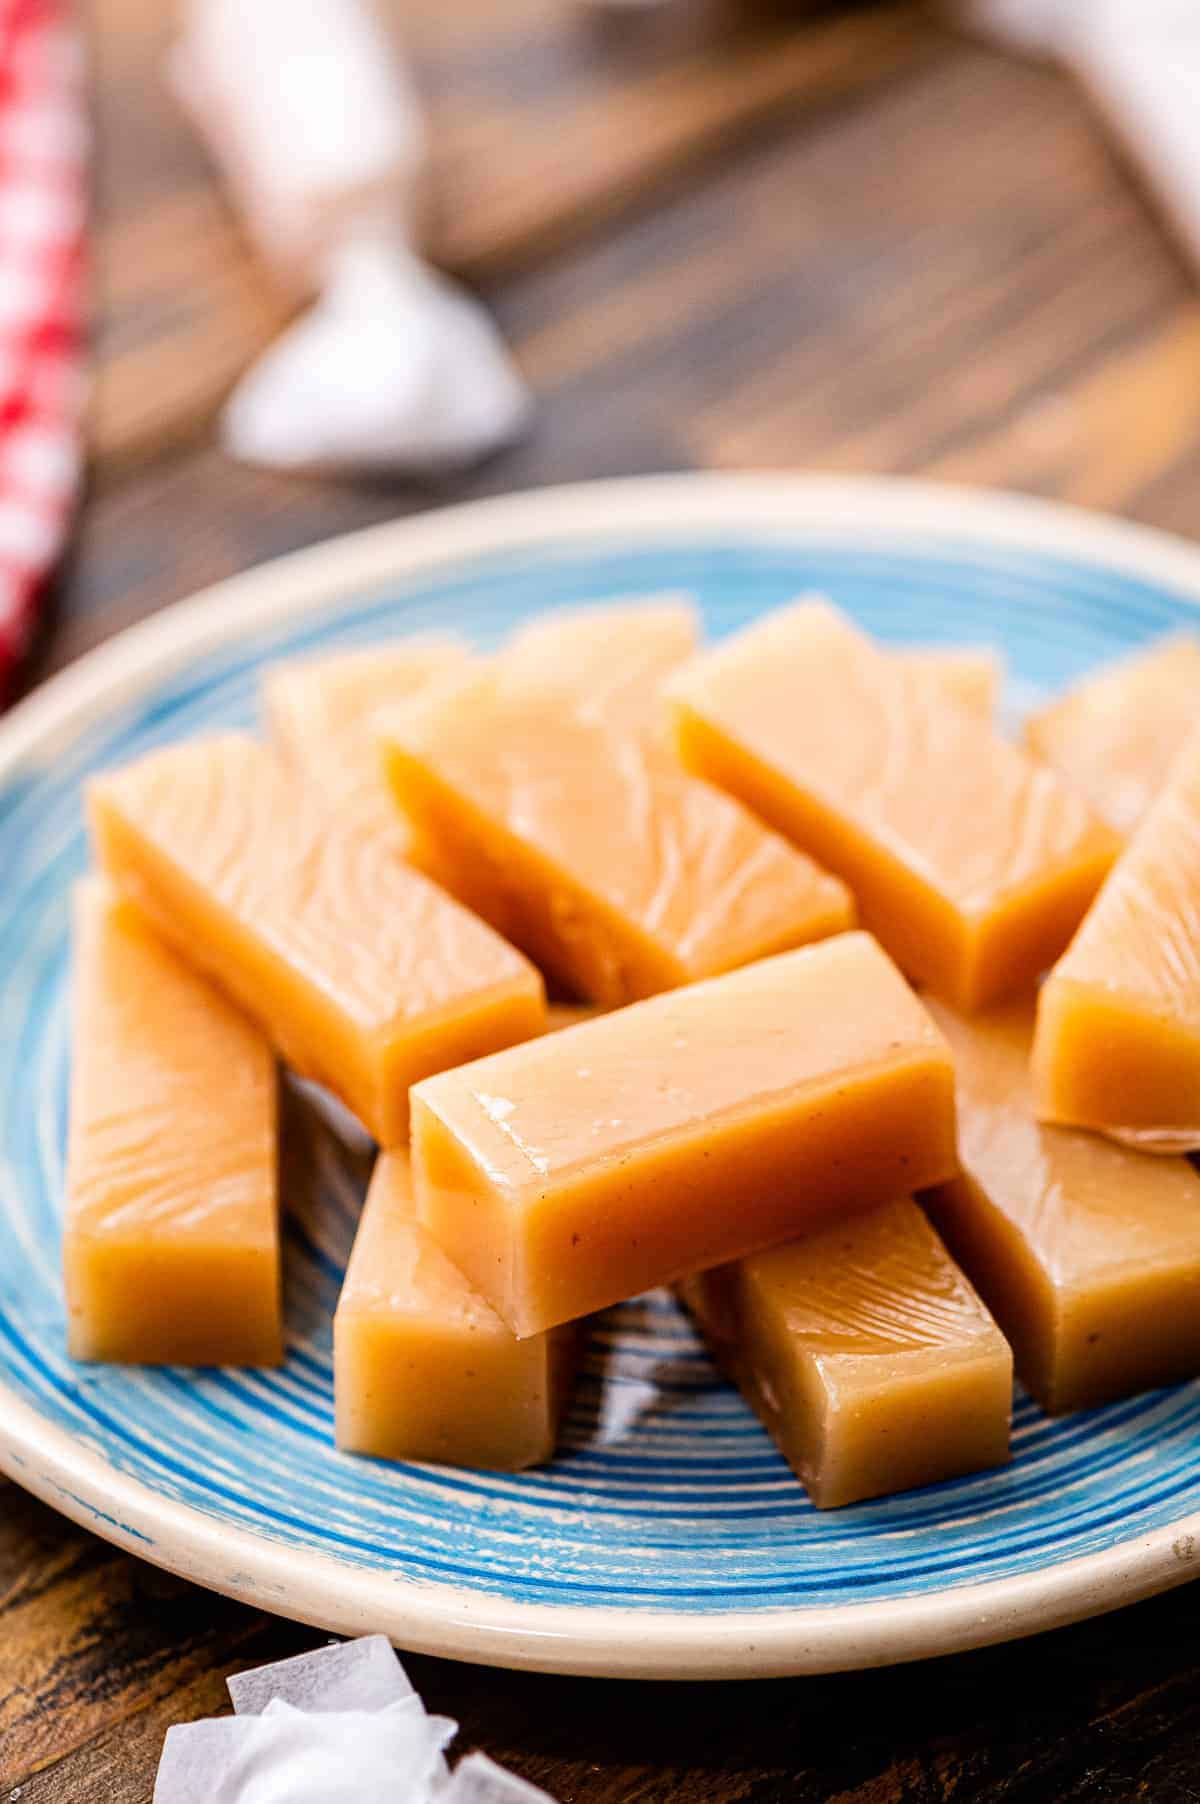
These caramels are soft and chewy, but not so chewy that you need dental work after! I’ve had some of those versions before, and I can promise you will not have that problem with these caramel candies. It works every time – it’s the best soft caramel recipe.
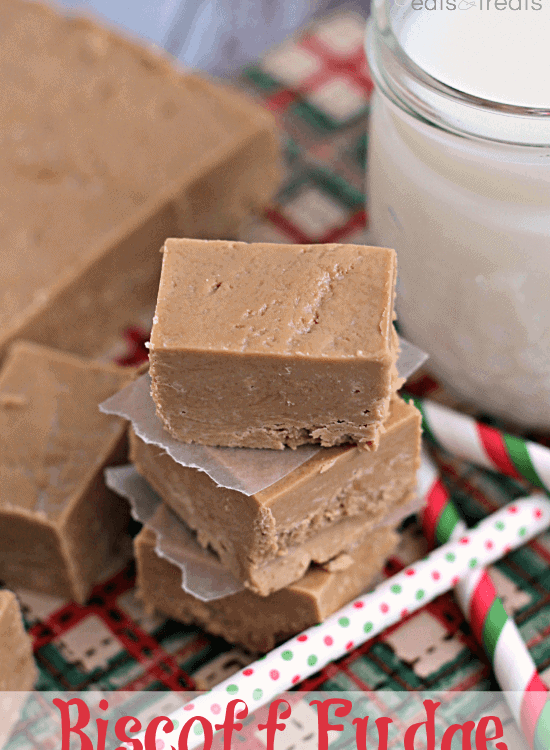
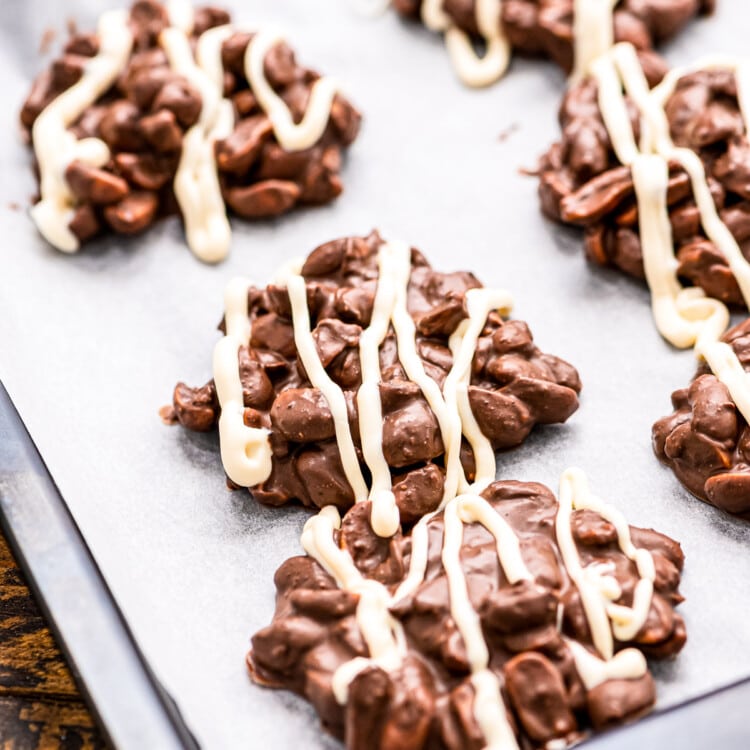
So, if you’ve wanted to try something different this year, you should give these a try. They are great for gifting! Make some of my crock pot peanut clusters to go with them, and everyone will think you opened a professional candy shop!
Why This Recipe Works
- This recipe makes soft caramels with the best texture!
- I’m sharing my tips and step by step instructions so you can make them from scratch with success every time
- It’s a great recipe if you’ve never made homemade candy – follow the instructions, and you will love the results! I’ve been making it for years, and it’s foolproof!
- Homemade caramels make the best gifts – package them up in cute boxes or festive bags, add a bow, and you get a sweet treat everyone will love.
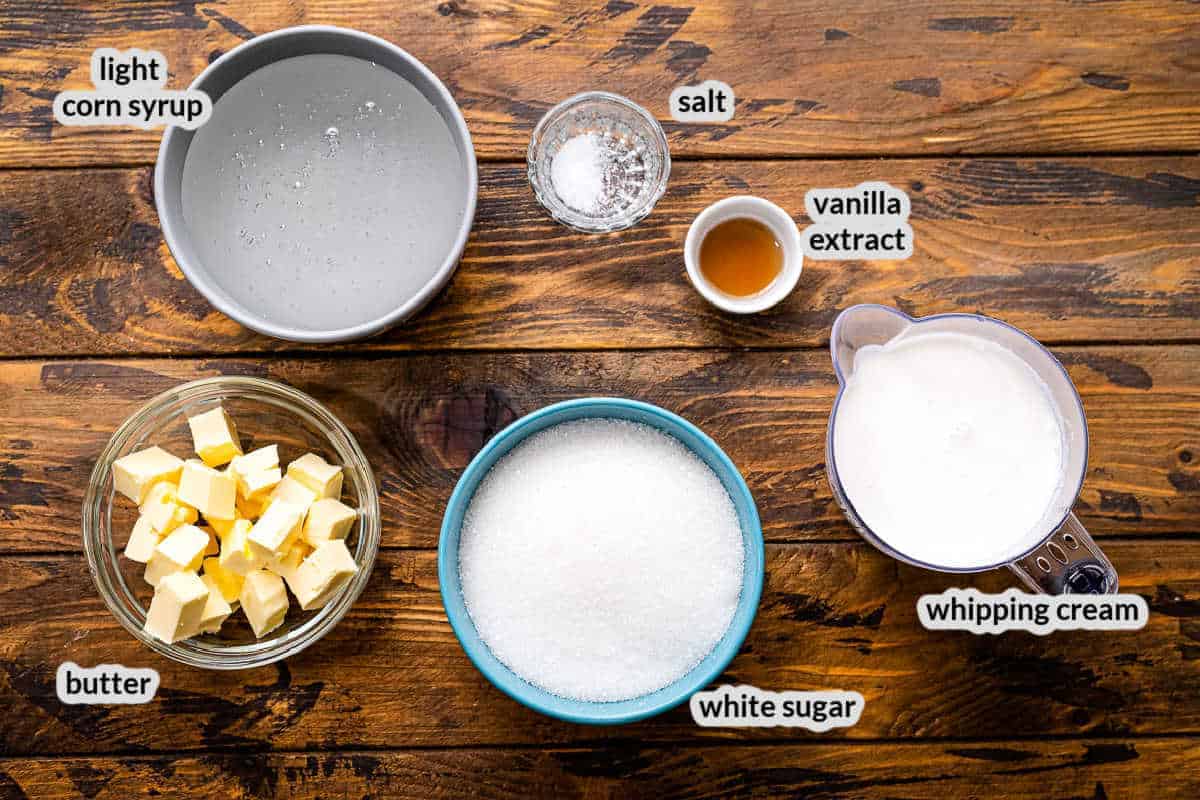
You Only Need a Few Simple Ingredients
What I love about this caramels recipe is that it calls for simple ingredients. You might even have everything on hand – sugar, light corn syrup, salt, butter, whipping cream, and vanilla. That’s it!
Products Needed
How to Make Soft Caramels from Scratch
Prepare the pan: Line your baking pan with parchment paper, or you can grease it with butter. For thicker caramels, use a 9×13” pan, or for thinner ones, use a jelly roll pan.
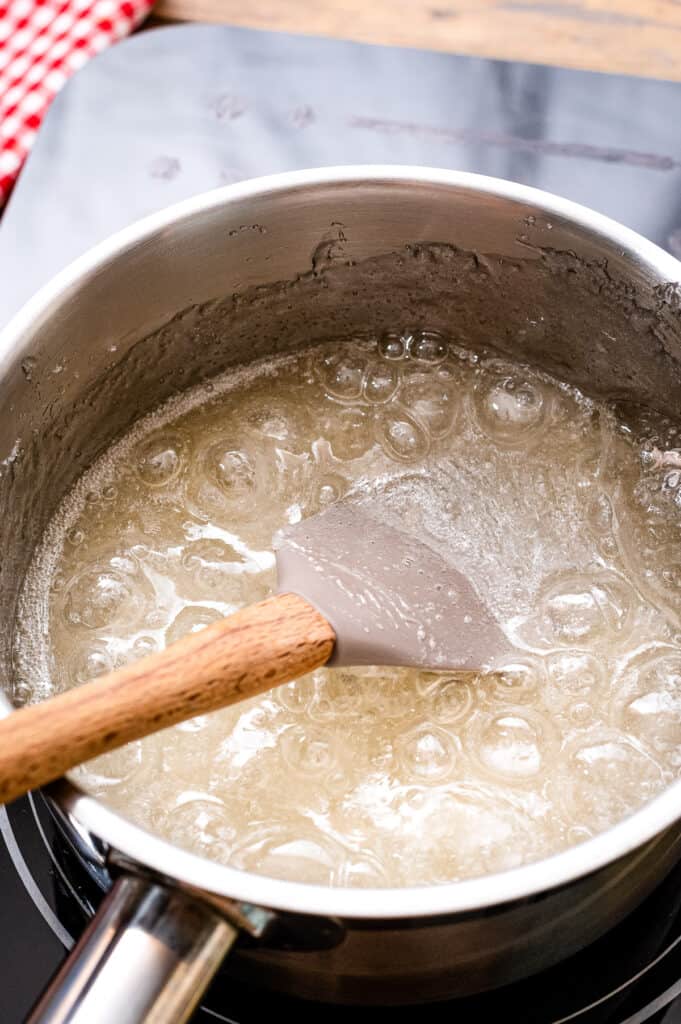
Cook the sugar and syrup: In a heavy-bottomed saucepan, combine the sugar, syrup, and salt. Stir it over medium heat, and it will start to come to a boil. At this point, use a thermometer to measure the temperature – as soon as the mixture is 245 degrees F. start the next step.
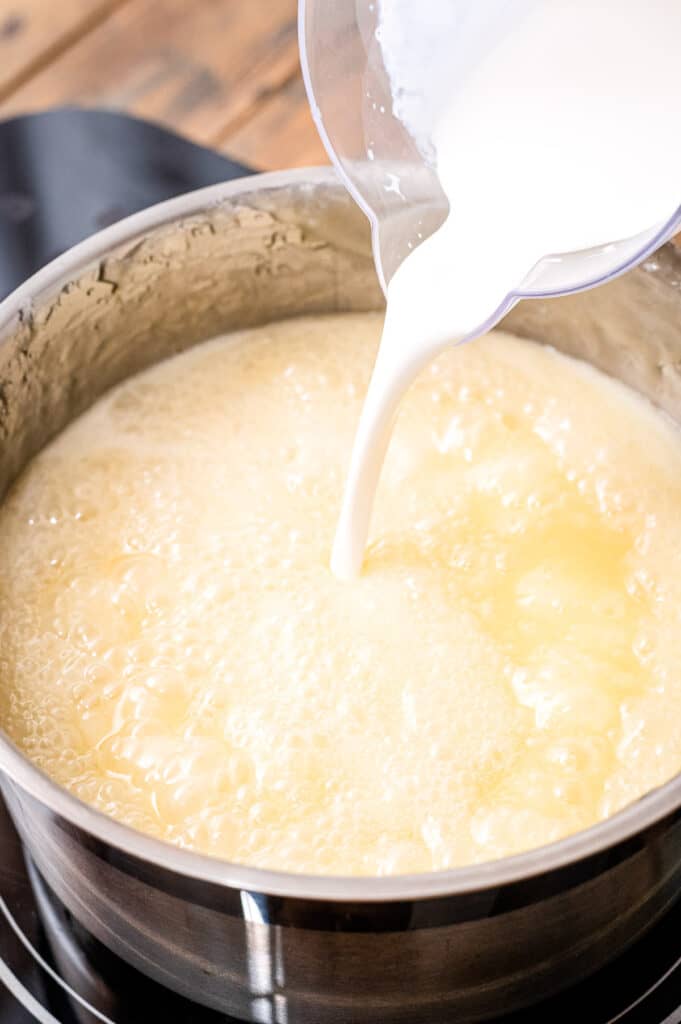
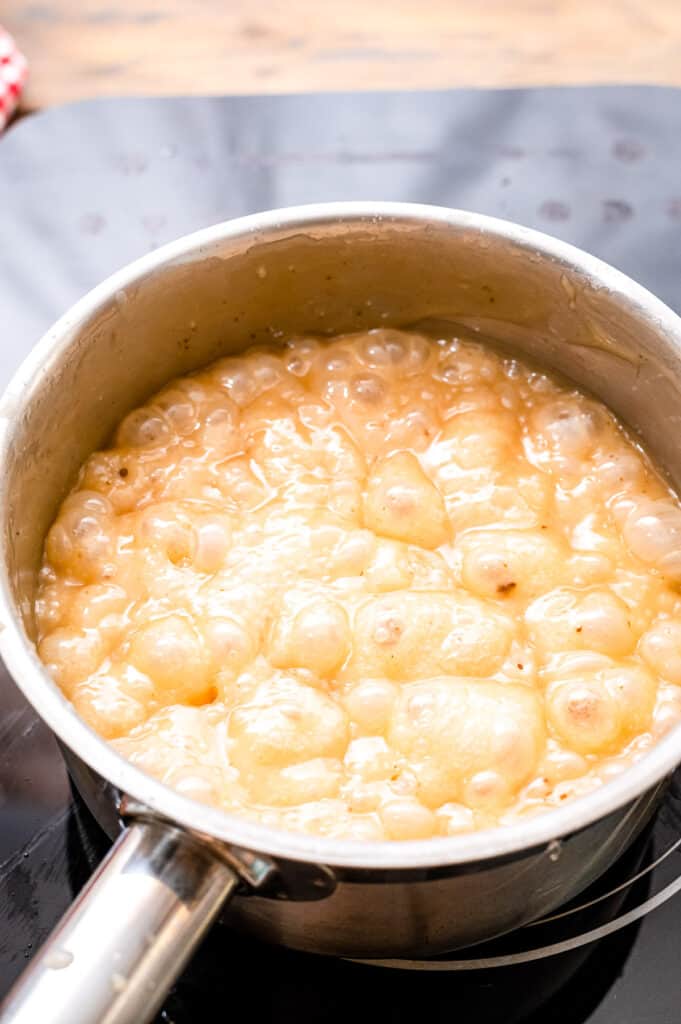
Add the butter and cream: Slowly – and I mean slowly! – add the butter and cream. You don’t want the mixture to stop boiling, so don’t add it all at once. Otherwise, the sauce will break and curdle. Once all of it is added, continue to boil the mixture until it reaches 243 degrees F, which is the softball stage. Take the saucepan off the heat and stir in the vanilla.

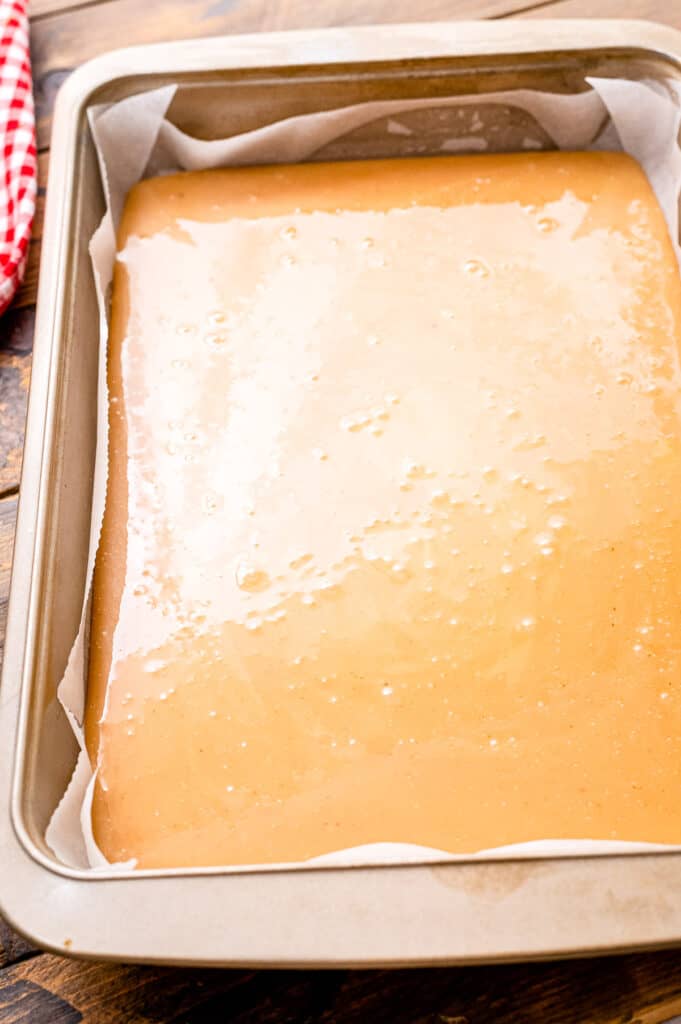
Refrigerate: Pour the mixture into your prepared pan. Chill it until the caramel is cooled and hardened. This will take several hours, or you can chill it overnight.
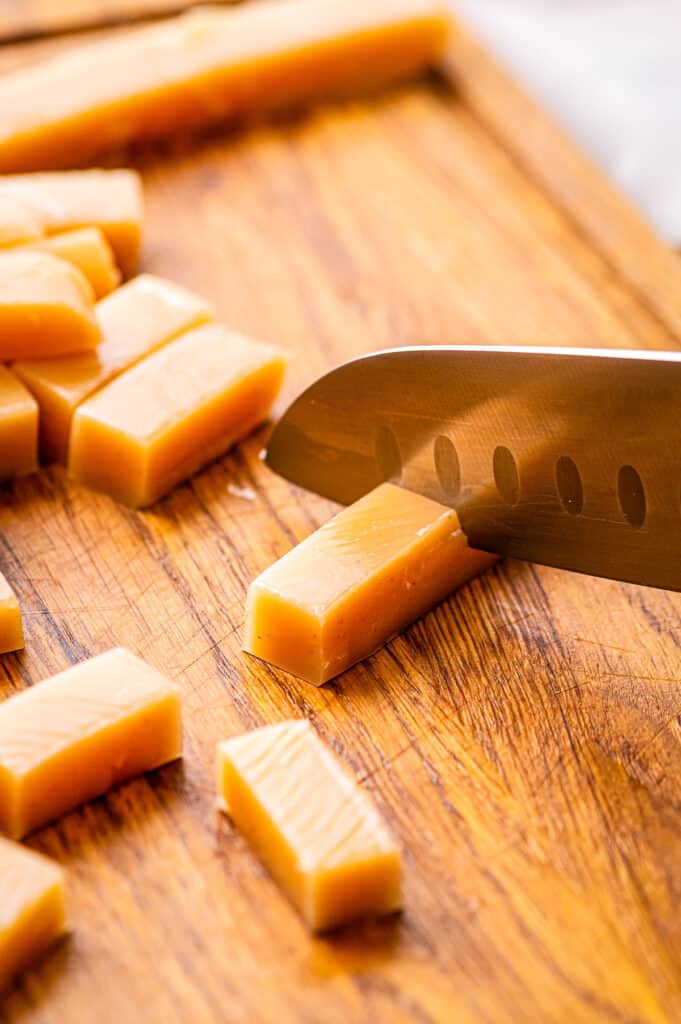
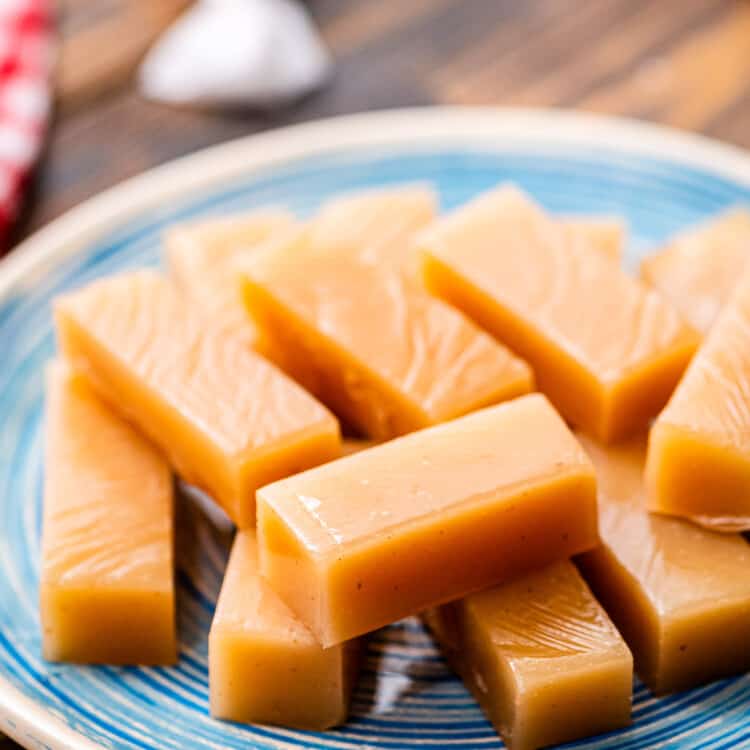
Slice and Wrap! The caramel will be very hard when you take it out of the fridge. This will make it easy to slice it, and it will soften as it comes to room temperature. Wrap the caramel pieces in pieces of wax paper like a tootsie roll.
Pro Tips
Homemade caramels will last for several weeks at room temperature. Store them in an airtight container.
If you don’t individually wrap the pieces, store them with wax paper separating the layers, so they don’t stick to each other.
I can’t stress enough how important it is to use a candy thermometer. Don’t try to guess when the caramel is ready! If you over or undercook it, you won’t get that wonderful, perfect soft texture.
All of the steps are important, but especially adding the cream and butter. So, be sure and take your time and add it slowly.

Taking a bite of soft homemade caramel candy is like a trip down memory lane for me! We love making it every year for the holidays – I hope you love it, too!
More Recipes Perfect for Gifting!
- Candied Cranberries are fun to make and a sweet gift! Use them to decorate cakes, cupcakes, or they can be enjoyed straight from the bowl!
- We love giving away fudge and I have the most amazing Easy Chocolate Fudge for you to try. Or, try my Eggnog Fudge for a real holiday twist!
- Make your own Chocolate Covered Potato Chips for gifts or holiday parties! They are easy to make and the best sweet and salty snack!
Try it and love it? Rate it, please! Seriously though a five-star rating below will make my day!
If you snap a photo, please be sure to tag me on Instagram at @julieseatsandtreats or #julieseatsandtreats so I can see your yummy treat!!
Did you make this? If you snap a photo, please be sure tag me on Instagram at @julieseatsandtreats or #julieseatsandtreats so I can see your yummy treat!
Homemade Caramels
Soft, chewy homemade caramels with easy step by step instructions that are perfect for the holidays!
Video
Ingredients
- 2 cups white sugar
- 2 cups light corn syrup
- ¼ teaspoon salt
- ½ cup butter cut into thin slabs
- 2 cups whipping cream
- 1 teaspoon vanilla
Instructions
- Line a 9×13” pan or jelly roll pan with parchment paper or generously grease with butter. Either size pan will work–9×13” will yield thicker caramels.
- In a large heavy bottom saucepan add sugar, syrup and salt. Stir over medium heat until mixture begins to boil, about 5 -10 minutes. Using a candy thermometer let mixture reach exactly 245 degrees F.
- SLOWLY add butter and whipping cream so the mixture doesn’t stop boiling (or your mixture can curdle. Continue to boil until it reaches 243 degrees F (soft ball stage).
- Remove from heat. Stir in vanilla.
- Pour into the prepared pan. Refrigerate until cooled and hardened, overnight or for several hours to make them easier to cut.
- When caramels are removed from the refrigerator they will seem hard, but will soften as they come to room temperature.
- Cut caramel into small pieces and if desired, wrap like a tootsie roll into wax paper.

Tips
Homemade caramels will last for several weeks at room temperature. Store them in an airtight container.
If you don’t individually wrap the pieces, store them with wax paper separating the layers, so they don’t stick to each other.
I can’t stress enough how important it is to use a candy thermometer. Don’t try to guess when the caramel is ready! If you over or undercook it, you won’t get that wonderful, perfect soft texture.
All of the steps are important, but especially adding the cream and butter. So, be sure and take your time and add it slowly.
Nutrition Information
Calories: 71kcal (4%), Carbohydrates: 11g (4%), Protein: 1g (2%), Fat: 3g (5%), Saturated Fat: 2g (13%), Cholesterol: 11mg (4%), Sodium: 24mg (1%), Potassium: 4mg, Sugar: 10g (11%), Vitamin A: 124IU (2%), Vitamin C: 1mg (1%), Calcium: 5mg (1%), Iron: 1mg (6%)
the other human says
taste like five stars
elibish says
best caramel i ever made. though it comes out harder or softer sometimes, and it sure is a pain to individually wrap them. they taste excellent! i recommend that you cut the sheet of caramel before it’s fully hardened, or else you might hurt your hands from trying to jab the knife into the caramel.
Zooey says
Hello! I absolutely love this recipe, but according to you, how many caramels does this usually make?
elibish says
enough that it takes about two hours to wrap them all.
J Skaggs says
Never made b4 this will b my 1st yr
Marolyn J. says
Hi, do you use salted or unsalted butter?
Julie Evink says
We use salted.
Pauline Edwards says
Julie can I half this recipe?
Julie Evink says
I’m sorry Pauline I’ve never halved it so I don’t know if it would work or the cooking time would be the same. These do freeze great if you have to many on hand!
Beth says
These look so delicious! My hubby and daughter are going to love these! So excited to give these a try!
Julie says
I hope they are a hit!
elibish says
there will surly be enough.
Katie says
One of my favorite things ever! Can’t wait to try your recipe.
Julie says
Hope you enjoy it!
Lily says
YUM!!! I have no words as to how delicious these homemade caramels were, you have started an addiction 🥰
Julie says
Lol I’m so glad you loved them!
Cheri Roberts says
Hello Julie. I live in Denver and with the adjustment for altitude, I boil my caramels to 238 degrees. They have worked great EXCEPT they stick to the wax paper in which I am wrapping the individual caramels. What wrapping material would be foolproof for preventing them from sticking to the papers?
Julie says
Hmmm, I’ve found there are wrappers out there specifically for wrapping caramel. That might be the trick? Wax paper usually works well for me so I’m not sure what else works well!